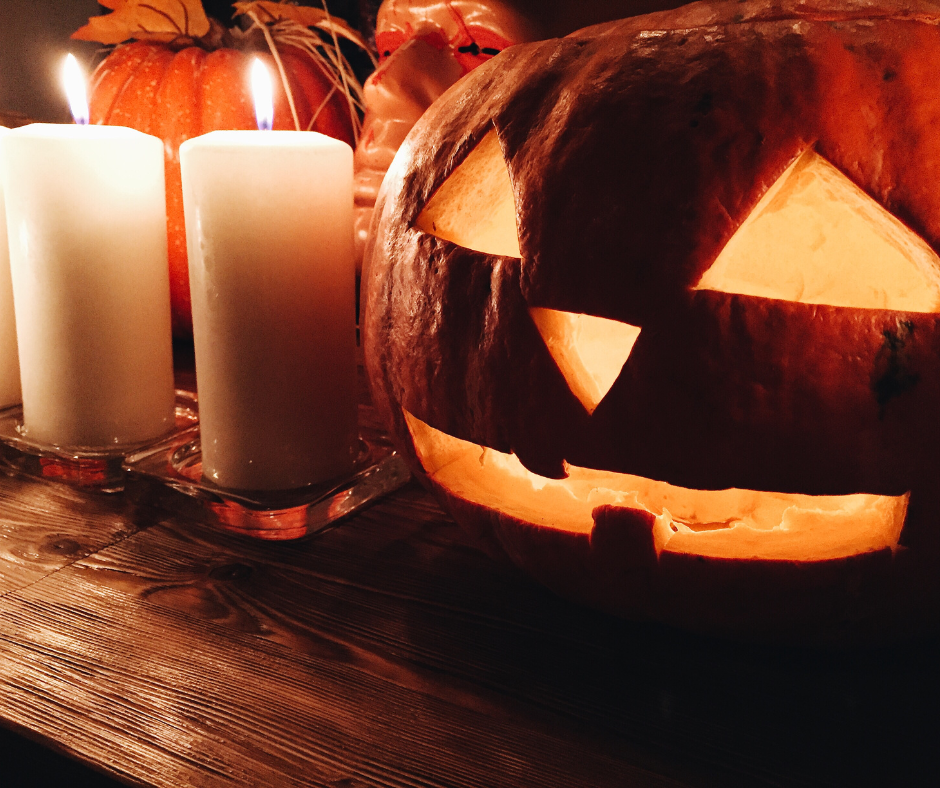
Chem-Dry loves to celebrate Halloween almost as much as we love clean carpets! We have the perfect pumpkin carving guide to help your family have the spookiest Halloween possible, and you already know we’re the experts when it comes to scary fresh carpets. So, without further ado, here is our step-by-step guide to carving the perfect pumpkin!
Step 1: Choose the Perfect Pumpkin - Start by selecting a ripe and sturdy pumpkin. Look for one that is free from bruises, soft spots, or blemishes. It should have a flat base to sit securely, and a healthy stem. The size is up to you, but remember that smaller to medium pumpkins are easier to carve.
Step 2: Prepare Your Workspace - Lay down newspaper or a large garbage bag to protect your work surface from pumpkin guts and debris. Carving can get messy, so it's essential to have a clean and organized space.
Step 3: Cut an Opening - Using a serrated knife from your carving kit, carefully cut a circular lid around the top of the pumpkin. Angle the cut slightly inward to create a lip that will help keep the lid from falling inside.
Step 4: Scoop Out the Guts - Reach inside the pumpkin and remove the seeds and stringy pulp. A large spoon or your hands work well for this. Keep the seeds if you want to roast them for a tasty snack later!
Step 5: Plan Your Design - Use a marker or pencil to sketch your design directly onto the pumpkin. If you're not confident in your freehand drawing skills, consider using a stencil. Stencils make it easy to create intricate and precise designs.
Step 6: Carve Your Design - Now comes the fun part! Using the appropriate tools from your carving kit, carefully follow the lines you've drawn. Take your time and make slow, controlled cuts to avoid mistakes. Be especially cautious with sharp tools, and supervise children closely if they're participating.
Step 7: Illuminate Your Masterpiece - Once you've finished carving, place a small candle or a battery-operated LED light inside your pumpkin. Light it with a lighter or matches and carefully place the lid back on top. This will bring your creation to life with a warm, flickering glow.
Step 8: Display Your Pumpkin - Find the perfect spot to display your masterpiece. Whether it's on your doorstep, porch, or a table inside your home, make sure it's visible to passersby, and don't forget to share your pumpkin's radiant charm with friends and family.
BACK TO BLOGS
